Wednesday, October 31, 2012

Funky Photo Display

You just never know when a salvaged board and a few vintage curlers/perm rods might come in handy.  I knew the curlers would eventually become an altered something or other, so I wasn't about to bury them too far back in a cabinet where they'd never again see the light of day.

I was going through my stash of vintage photos when I finally decided what to do with the curlers and the salvaged board.

I had no idea what I was going to do with this 6 foot board when I picked it up at the salvage yard a few months ago.  It was too long for this project, so I cut it down to 20 inches and relocated one of the ends.  

Then I drilled one new hole in the center and filled in the smaller holes.  The other two holes were just the right size to accommodate the bottom of the curler.

A little E6000 glue was added to hold the curler in place, but wasn't really necessary because it was a good tight fit.  

The depth of the existing hole was perfect; just deep enough to still allow the button to be pushed in for the clip to open.

Vinyl letters from a huge stash I found at a yard sale this summer.

Vinyl letters combined with the old photos.  Doesn't the lady behind the B look a little creepy now?  Buddy couldn't resist getting in on the action too.


Pin It
Today I'm partying with:
Brambleberry Cottage for Time Travel Thursday
My Repurposed Life for Catch as Catch Can
Shabby Creek Cottage for Transformation Thursday
The Vintage Farmhouse for Creative Things Thursday
Common Ground for Vintage Inspiration Friday
Funky Junk Interiors for Saturday Nite Special

Friday, October 26, 2012

Vintage Hair Brush Frames

I think I'm hooked on repurposing worn out and once loved vintage hair brushes.  These two have definitely seen better days, so what better way to keep them fresh and alive for years to come.  Both ladies (I'm declaring them sisters) were found modeling their "frocks" in a November 1910 issue of The Designer Magazine.

I didn't take pictures along the way, but you can see how I put these sisters together from two similar hair brush transformations here and here.

I added some rhinestones and tiny feathers to her very fashionable hat, and a decorative bead to her fancy lace scarf.

Sister's hat was decorated with a pair of vintage earrings.  Her necklace is a small piece of a rhinestone bracelet with a little brass flower for the pendant. 

I added some lace and beads around the edges, then attached a rhinestone pin and earring to the top of each handle with E6000 glue.

Hanging around with pieces of broken rosary and chain.

The back of one brush still looks good with its pretty patina, the other one...not so good.

As long as the scale/size looks good, you could fill these with just about anything.  I've been searching for the perfect picture of my grandmother so she can be the star of my next brush makeover.

Pin It
Funky Junk Interiors for Saturday Nite Special
Twigg Studios for Sunday Show Off Party
Under the Table and Dreaming for Sunday Showcase Party
Sew-Licious for Show-Licious Craft Showcase
Coastal Charm for Nifty Thrifty Tuesday

Monday, October 22, 2012

Yard Sale Therapy

I spent most of last week down and out with an awful cold that came out of nowhere.  It didn't stop me completely, but it sure did shift my creative plans for the week into low gear.  "Go to two yard sales and call me in the morning."  Great advise, but it didn't come from my doctor.  It came from that little voice inside my head that was trying to convince me to self medicate by checking out two very promising looking yard sales on Friday.  It worked, it really worked!

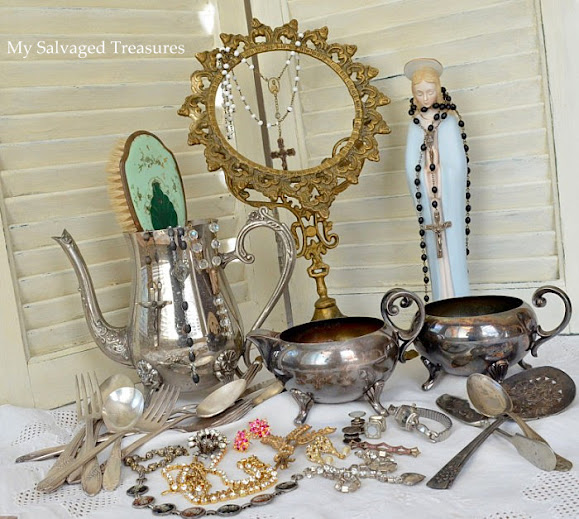
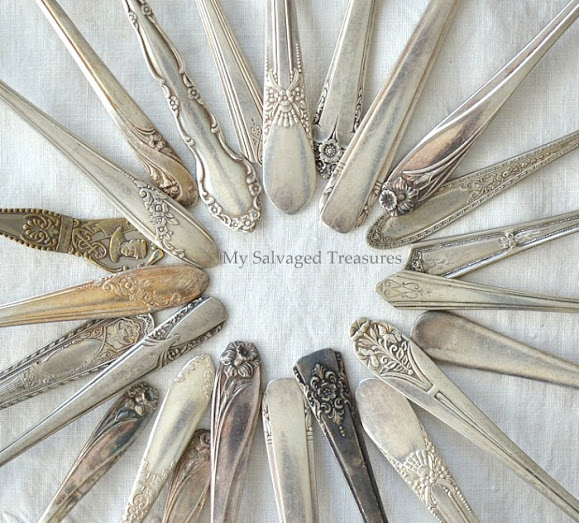
Silver anything speaks to me and it's usually the first thing I notice when I get to a sale.  I love mismatched flatware (it's not all picture here), and I didn't care that the pot was missing its lid because it will probably be used as a vase. The vintage brush was found sitting inside the pot, so of course it also had to come home with me.

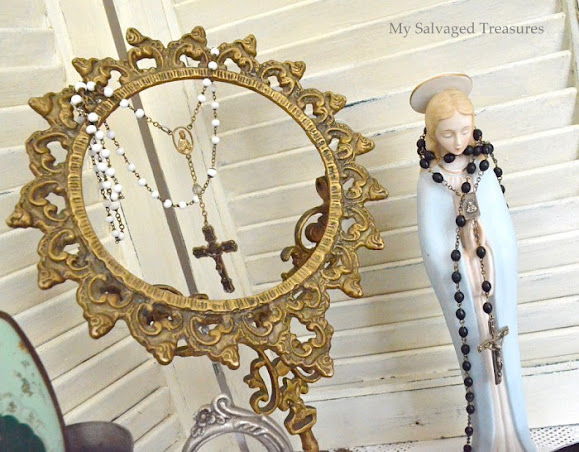
I'll probably be painting the ornate brass mirror stand and putting something other than a mirror inside.

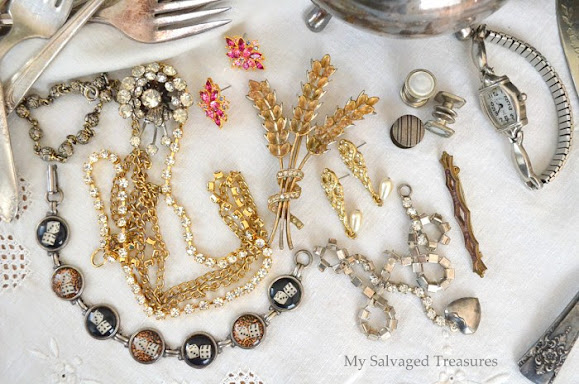
It's always a happy day when I find old jewelry, especially jewelry with rhinestones.  
I couldn't leave that bracelet behind.  Bunco anyone? 

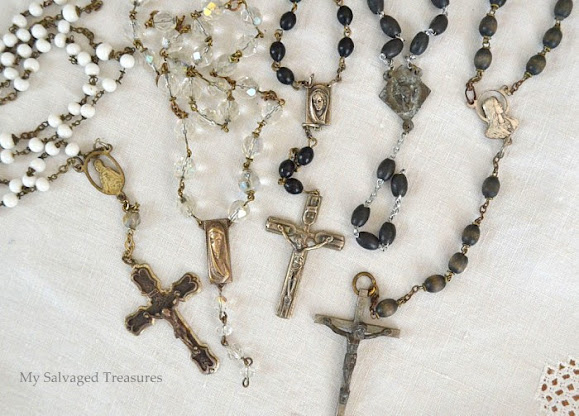
These rosaries were also calling my name.  Three of them are broken, but I love them anyway.

Group hug.  All of these (except the souvenir spoon over on the left) will be getting flattened and stamped.  You can click here to see my tutorial on stamping silverware.
I'm happy to say that I'm feeling much better now and ready to make up for lost time.


Pin It

Thursday, October 18, 2012

A New Look for Some Old Trinkets

I'm finally finished with all my big antique shows for the year.  I sure do enjoy it, but I'm happy to have those early morning set ups and fifteen hour days behind me until next spring.  Now I'll be concentrating on replenishing my jewelry inventory and working on smaller repurposing projects for several artisan shows coming up.  I just ordered a load of jewelry supplies online, so until they arrive it's time to get busy with some other projects.

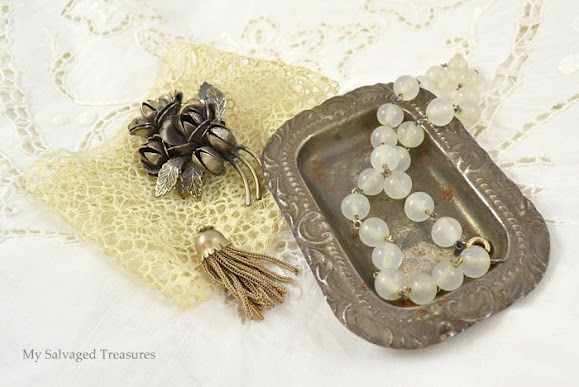
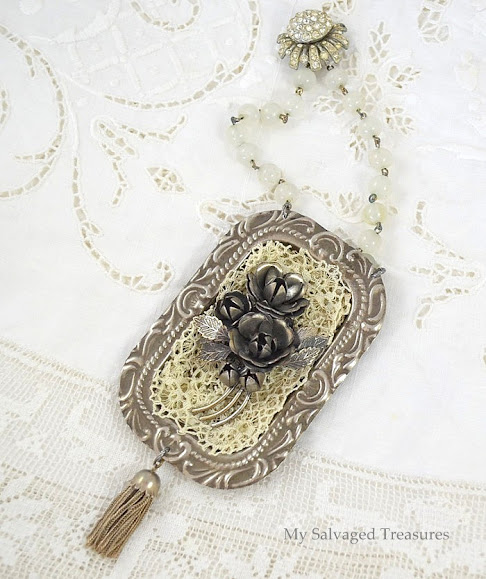
This rusty and tarnished tray has been in line for a makeover, but I wasn't sure what I wanted to do with it.  It's really too big for a necklace, but I still wanted to pretty it up in some way.  I grabbed a piece of lace, a beaded chain from an old necklace, a metal tassel, and a pretty silver brooch with a broken pin.

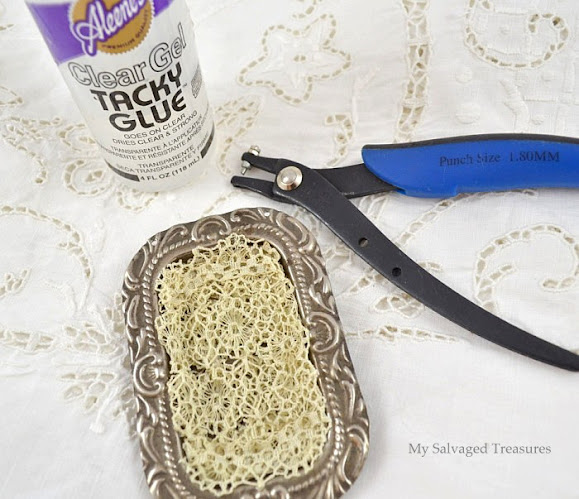
A 1.8mm punch tool was used to make two holes at the top and one at the bottom.  I covered the bottom of the tray with some Tacky glue and pressed the lace in place.  

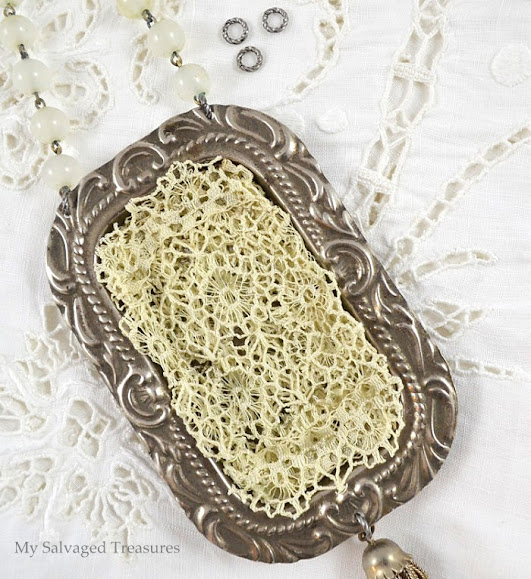
Three decorative jump rings were used to attach the tassel and the chain.

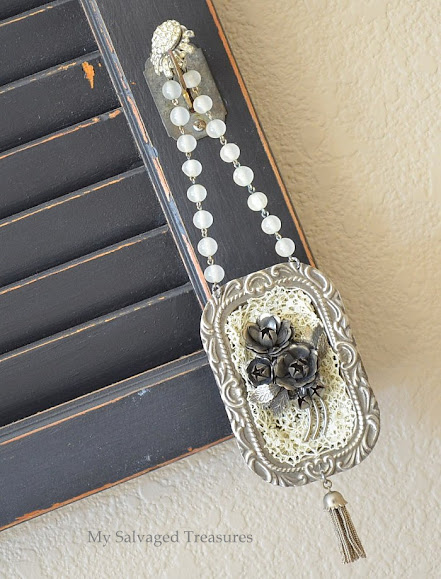
The vintage clip-on earring was an afterthought.  I added a few links of chain between the beads to accommodate the earring so there's room for it to fit between the beads. The hole in back of the earring allows it to be hung from a small nail in the wall or anywhere else.

I used some #0000 steel wool to gently go over the edge to bring out the detail in the pattern.


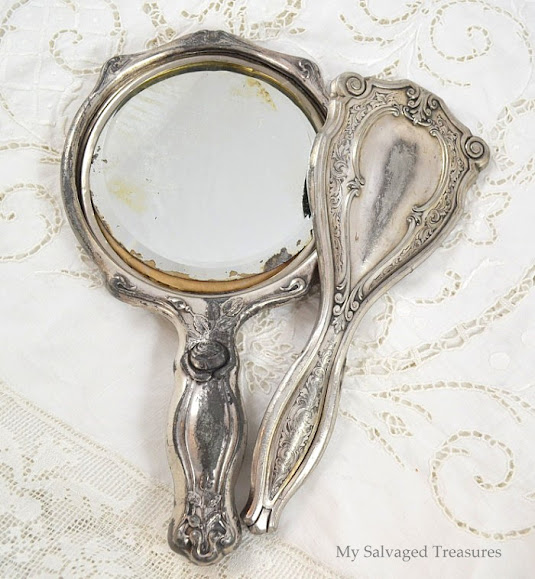
Next in line....another vintage hairbrush and mirror makeover using the same technique.


Pin It
Common Ground for Vintage Inspiration Friday
My Repurposed Life for Catch as Catch Can
At the Picket Fence for Inspiration Friday
The Answer is Chocolate for BFF Open House Party
Funky Junk Interiors for Saturday Nite Special

Saturday, October 13, 2012

Perfume Bottle Necklaces

Last May one of my regular customers from the Spring Antiques & Collectibles Faire in Pleasanton, CA stopped by my booth to show me several little perfume bottles.  She wanted to know if I'd be able to make necklaces out of them similar to the one she bought from me a few years earlier.  She had a bottle in mind for each friend and another one for herself.  How could I refuse?

The bottles on the left and right are filled with glitter.  The tassel was already attached when she gave it to me, so I'll let her decide if she wants to remove it.  It already had a hole in the top making it easy to add a jump ring instead of wiring it up.  The center bottle is full of the smallest pearls I had.  All of the bottles have a very small opening, so I was limited to what would fit inside.  

I filled the bottles on the left and right with seed beads, and the center bottle with glitter, then added some rhinestones down the front.  She requested the bottle on the right be filled with something green.

I'm sure there are dozens of ways to wire these up, but these two techniques have always worked for me.  I had these all put together before I thought of blogging about them, so I'll show you the easiest technique that works for almost any bottle as long as the top isn't too large.
  I used 22 gauge wire (open roll on left) because it's easier to work with than the thicker 20 gauge.  Then grab yourself a pretty little perfume bottle, preferably one that's already empty because old perfume smells bad stinks.  It's best to fill the bottle and glue the top on before you start to wire it up.  A little E6000 glue will hold the top in place so you don't end up wearing glitter all over your clothes.

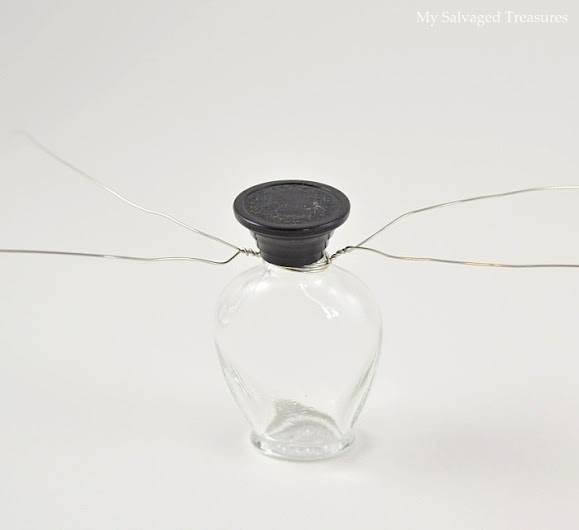
Cut off two pieces of wire about 12" each.  Place one piece of wire around the neck of the bottle (this is a top view) cross the wire, pull tight, then pull both ends around to the opposite side and twist a few times to hold it in place.   Repeat with the second wire.

You'll end up with something that looks like this.  The wires are firmly held in place between the top and the neck of the bottle.  You can see some moisture still inside the bottle, so make sure it's completely dry before filling and gluing it.  A Q-tip works really well if the opening is large enough.

Continue twisting until you have about 3" of twisted wire on each side, cut off any excess.

Grab your round-nose pliers and make a loop about 1/8" away from the neck.

Hold the loop you just made with your chain-nose pliers.  Grab the end of the wire with your fingers or another pair of pliers and wrap it around around a few times until it's right up next to the bottle top.

Cut off the excess and pinch the wire down with your pliers.  Repeat on the other side.

All ready for some embellishments and a chain.
I was able to fill this bottle after wiring it together, but it's best to fill and glue it first so that your wires don't slip off the top.  I used E6000 glue for all the embellishments.

I'll be bringing them with me to the Fall Antiques & Collectibles Faire on Sunday.  I'm really not crazy about doing custom orders because I constantly second-guess all my creative decisions.  Oh dear, I sure hope she likes them.


Pin It
Newer Posts Older Posts Home