Wednesday, August 29, 2012

One Hundred and One Years Later

I was going through some my antique fashion magazines recently looking for just the right pictures to fill a few old frames.  I was lucky enough to find an entire suitcase full of these antique magazines at a yard sale last summer and I'm still having fun every time I go through them searching for interesting graphics.  This issue of The Designer caught my eye when I noticed it was from August 1911 - one hundred and one years ago.  

My mission for finding some interesting pictures to fill the old frames came to an immediate halt when I got the urge to get out my August 2012 issue of InStyle and do a little 
comparison browsing.

I was hooked as soon as I had this current issue of InStyle and the one hundred and one year old issue of The Designer side by side. Then I thought it would be fun to put a few collages together showing similar beauty products, accessories, clothing, and poses.  It was a good thing I had other projects on my to-do list that day because I could have gone on and on....


Our style has changed over and over throughout the years, but we're still trying to be the best we can be. We still want our skin to look younger, our hair to be healthier, our bodies to look thinner, our clothes to be stylish, our lingerie to look good (without the non-rustable corsets), and our shoes and accessories to coordinate.  We still need our sweet desserts, a refreshing drink, and of course, a little romance too.

I'm partying with:
The Colorado Lady for Vintage Thingie Thursday
Brambleberry Cottage for Time Travel Thursday
Common Ground for Vintage Inspiration Friday
The Vintage Farmhouse for Creative Things Thursday
French Country Cottage for Feathered Nest Friday


Pin It

Friday, August 24, 2012

Vintage Cameras Make Me Smile

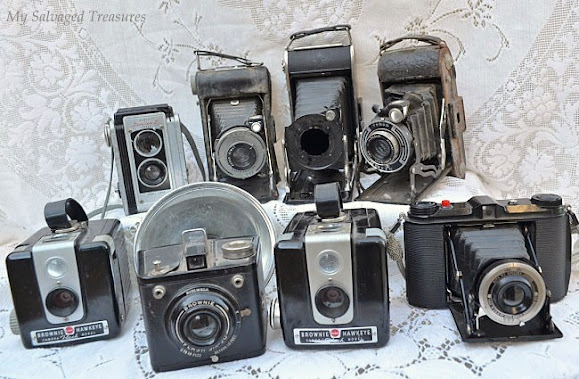
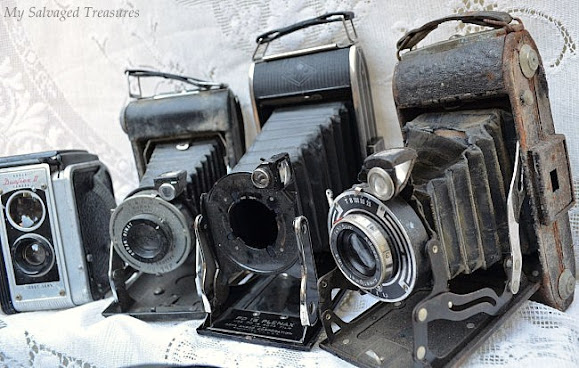
My heart skipped a beat and I had a mile wide smile on my face when I spotted these vintage cameras at a yard sale last weekend.  My smile started to fade a bit when I got a closer look and noticed that half of them were in very sad condition.

The three Brownies in the bottom row were cleaned up and will be coming with me to Mes Amis Vintage Antique Show next month.  The Afga Speedex Junior on the right is now the newest member of my collection.

The two Kodak cameras on the left found a new home with a friend of mine.  According to the lady I bought them from, the heavy corrosion, ripped bellows, and missing lens made the other two ready for the trash.
Not so fast.....

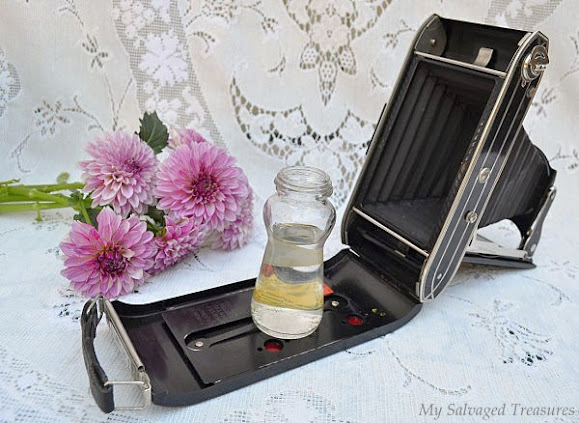
The missing front lens makes this Afga the perfect candidate for a vase, and the pull-out stand holds a vintage black and white picture firmly in place.  The Kodak flash attachment that was thrown into the deal for free holds some of my seashells.  

I couldn't find a container small enough to fit through the opening where the lens was, so I opened up the back of the camera and placed this spice jar inside.  After closing the camera, I added the fresh flowers through the lens opening into the new vase.

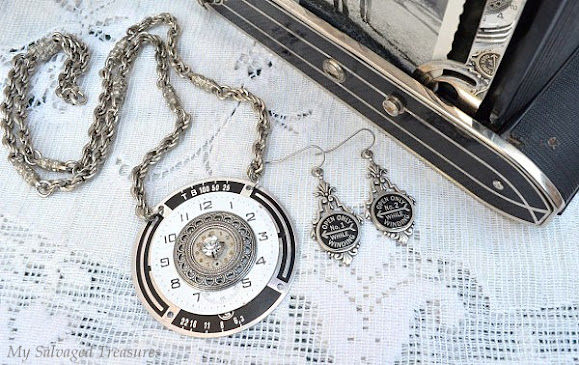
Part of the other rusty and torn camera becomes the base of a necklace.

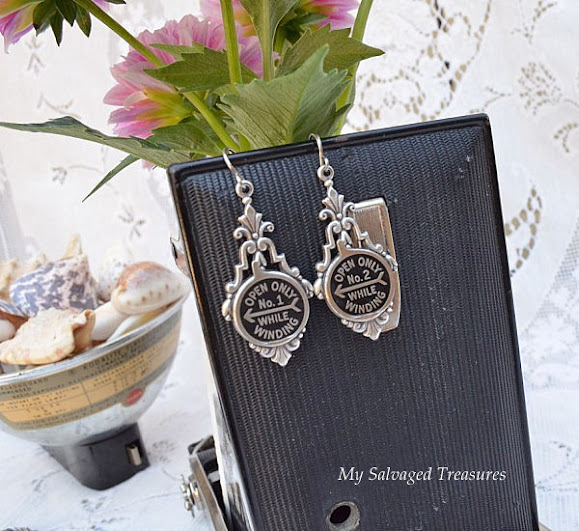
The earrings were made from the little flaps that covered the red film counter windows.


Pin It
I'm sharing my salvaged vintage cameras with:
2805 for Potpourri Friday
Funky Junk Interiors for Saturday Nite Special
My 1929 Charmer for Sunday's Best
Under the Table and Dreaming for Sunday Showcase Party

Monday, August 20, 2012

Upcycled Old Sewing Machine

I sure hope everyone is having a great Monday so far.  I'm going to be on the road for most of the day as we head back from spending the last six days with friends in Oregon.  I'll make an overnight stop at my mom's after dropping her off, and then drive home on Tuesday. Today I thought I'd re-share a post from July 2011 where I repurposed this rusty old sewing machine. There really is no such thing as junk.....

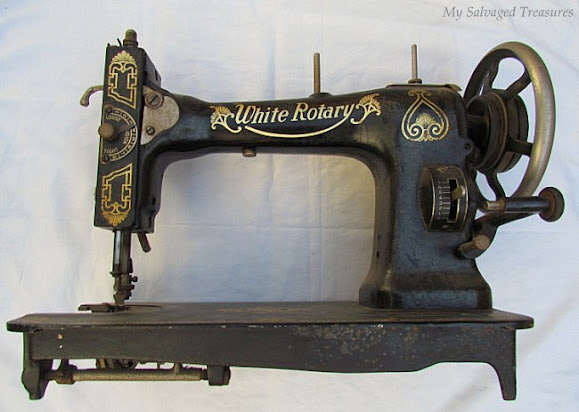
A few weeks ago I spied this rusty, dusty, spider web infested vintage White Rotary sewing machine at a garage sale.  Nothing turned, nothing moved, pieces were missing, but maybe I could get it for a few dollars.  At first glance, I was thinking about that wheel and what I could do with it. Then I started thinking about some of the other parts.  I made the mistake of letting out a little laugh when the guy told me what he wanted for it.  You know, one of those "you gotta be kidding" laughs.  I made an offer and he refused.  Oh well.

It bothered me all morning, but after that sarcastic little laugh, I was just too embarrassed to go back.  Knowing that it would most likely still be there,  I nominated Mr. MST (who has never been to a garage sale in his life) to do some end of the day bargaining.  Thank you, thank you.  He came home with an ear to ear grin, but still confused about why I wanted such a hunk of junk when I already have a sewing machine.  Something was lost in translation.   Making jewelry WITH a sewing machine is not the same as making jewelry OUT OF a sewing machine.

I saw repurposing potential here.

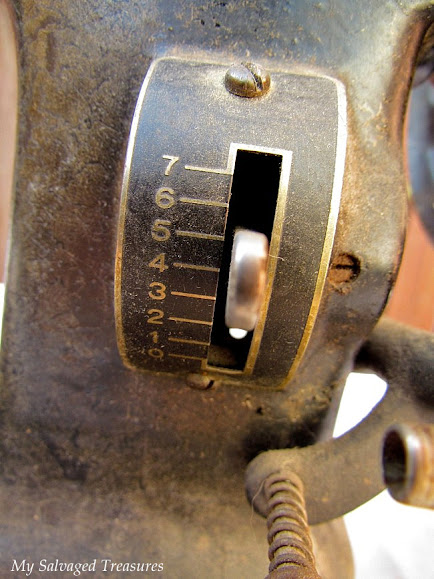
Much better.  With the help of some WD40, the tension meter screwed right off.  The little hand came off separately, so I just glued it into place along with the vintage rhinestone button.  I punched a small hole and added a clear crystal bead.

This piece was a little harder to get off. 

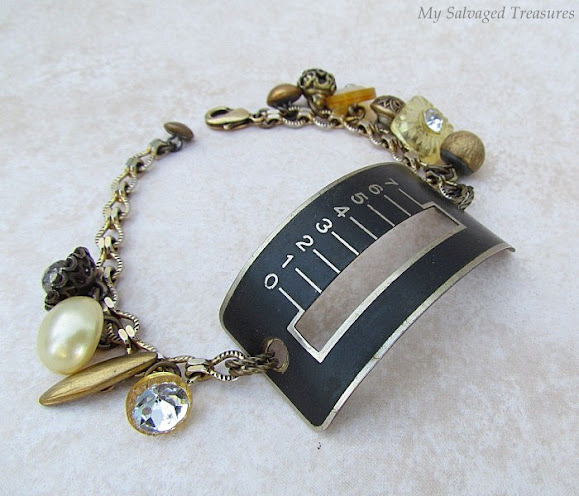
I thought about flattening this piece out and using it in another necklace, but the shape was perfect for a bracelet.  To keep it adjustable and leave room for the clasp, I didn't add any vintage buttons to the last five links.  I still have some bobbin bits and pieces to think about, and that wheel still needs to come off.
(Update:  I was never able to get the wheel off....I tried and tried)

Thursday, August 16, 2012

On the Road Again License Plate Necklaces

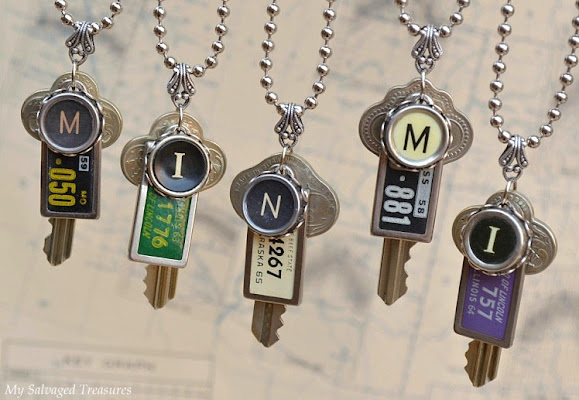
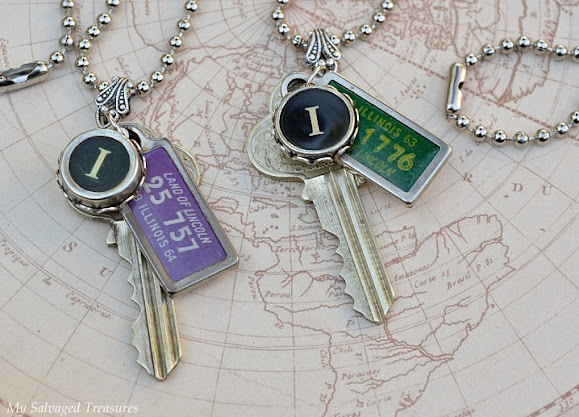
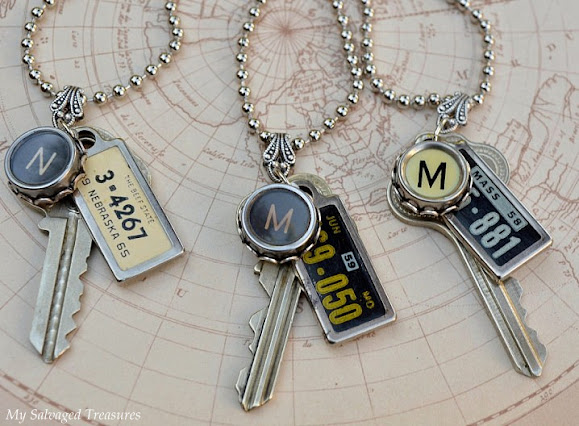
Black, green, cream, and lavender.  Oh, I was so happy to find some more of these sweet miniature license plate frames so I could make up another batch of necklaces.  I don't see them too often in good shape, so when I spied these in an antique store recently, they had to come home with me.

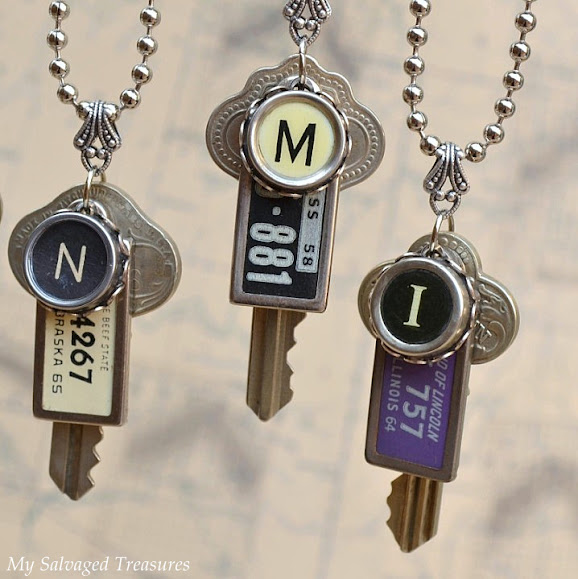
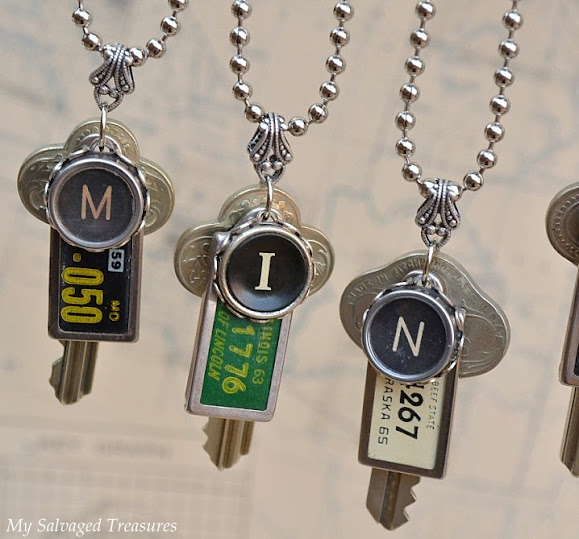
Great teamwork!  The old keys are a perfect backdrop to the mini license plates and vintage typewriter keys.

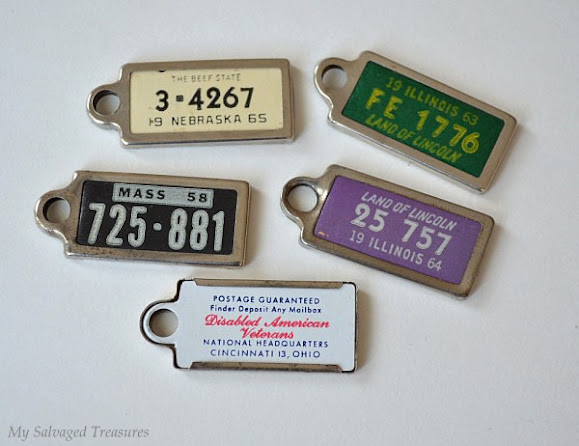
Do you remember these?   They were issued  from the early 1940s through the mid 1970s by the Disabled American Veterans (DAV) for you to carry on your key chain.

I'm thinking they look much better on a necklace chain.  You can see what I did with the last batch:  California, Iowa, Texas, Wisconsin and New York in my Road Trip Necklaces post from August 2011.

Coming soon to an Etsy shop near you just as soon as I get on the road again and return from my mini vacation early next week.

Land of Lincoln, Illinois 1963 and 1964.

The Beef State, Nebraska 1965
Missouri, June 1959
Massachusetts 1958

Wouldn't it be fun to find the full size matching license plates?


Pin It

Photobucket
Funky Junk's Sat Nite Special
vif187

Sunday, August 12, 2012

New Labels for Old Buckets

Old buckets have a way of finding their way home with me especially when I can pick them up for next to nothing at yards sales and flea markets.   My pile has been growing taller over the last couple of months, so I figured it was about time to do something with them.

tutorial add labels to buckets Mod Podge
The Graphics Fairy and Mod Podge to the rescue.
A super quick, inexpensive, and very easy way to dress up an old bucket.

They sure look naked except for the bright blue Baker Boy orange spread bucket; I wasn't about to disturb that fabulous old label.

All of these labels were printed in color on plain white paper using an ink jet printer.  Applying Mod Podge directly on images from an ink jet printer can cause the ink to bleed a little, but I've found that waiting a day or two to let the ink cure helps keep the bleeding to a minimum.  I wasn't real concerned about a little bleeding because I was going for a rustic and vintage look anyway, but you could always use a laser printer

After trimming the labels, I wrinkled them and roughed up the edges a bit.  No need to do anything more because they came directly from The Graphics Fairy with this wonderful 
aged look.

One light coat of matte Mod Podge was added to the back of the label with a sponge brush and placed directly on the bucket.  I waited about 20 minutes until it was dry, then went over just the surface of the label with a watered down coat of Mod Podge.  Even though I was using a matte finish, watering the Mod Podge down just a little makes the end result less shiny.

I wouldn't leave these outside where water will be an issue, but they're perfect for holding indoor plants, dried flowers, magazines, craft supplies, etc.  Outdoor Mod Podge is an option also, but I think it makes the labels look too shiny.

I love the collapsible antique water bucket on the left just the way it is.

Duplex Water Pail No. 12,  Mfd by the Planet Co. Patent 639822, Westfield, Mass USA.
I did a little research on these and found that they were manufactured from 1899-1920 and were used by the railroads, the military, and on fire trucks.  Some models even had a canvas spout attached.

It collapses, but does it still hold water?  I couldn't resist putting it to the test....

It took about ten minutes until R. Ducky was sitting at the bottom of the bucket.  Oh well, it was a great find and will still hold a bouquet of dried hydrangeas.


Pin It
Newer Posts Older Posts Home